


Your wine collection includes vintages you handpicked yourself. Each bottle is special to you, and this means you want the best for them. Your prized liquid gold deserves the finest kind of racks to rest on. The latest trend in wine storage design is modern minimalist. Create a contemporary cellar using label-forward metal racks from Vintage View.
Modern Minimalist Cellar Designs Using Metal Racks in San Francisco
Those who don’t understand your love for wine will never see the importance of investing in a quality storage structure. They will tell you to stock your favorite vintages in a closet in your kitchen or in a fridge. What they don’t get is that your beloved collection is so delicate that it needs to be kept in a climate-controlled location.
You know your wines need to have a wine cellar. But, you’ve also been wondering what this storage system will look like. Your prized bottles shouldn’t be kept in anything less than the best. That’s when you turn to look for the latest trend in wine room designs.

Modern minimalist is the hippest design today for custom wine cellars, both for homes and businesses. To build this kind of wine room, you need to utilize products that will help create a contemporary ambiance. Metal wine displays from Vintage View Storage Solutions are the most ideal racking systems to achieve the posh cellar style you are aiming for.
Wall Mounted Metal Wine Racks by Vintage View
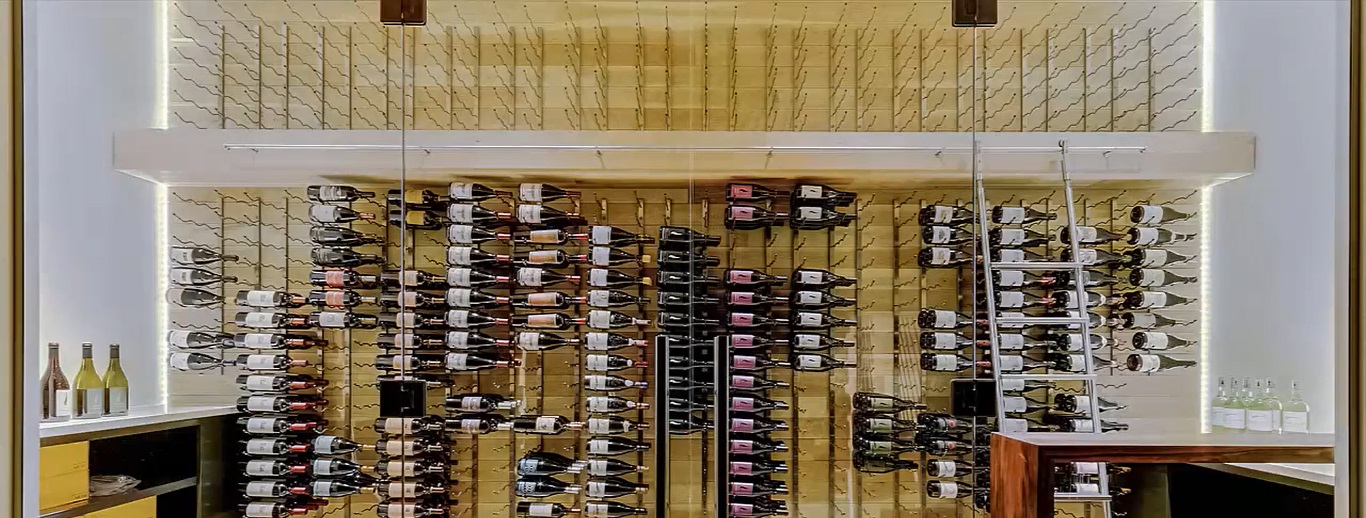
If you’re looking for that chic and current aesthetic style for your cellar, you’ll never go wrong with Vintage View Storage Solution’s Wall Series. This series is a collection of state-of-the-art metal wine racks made from the most durable steel.
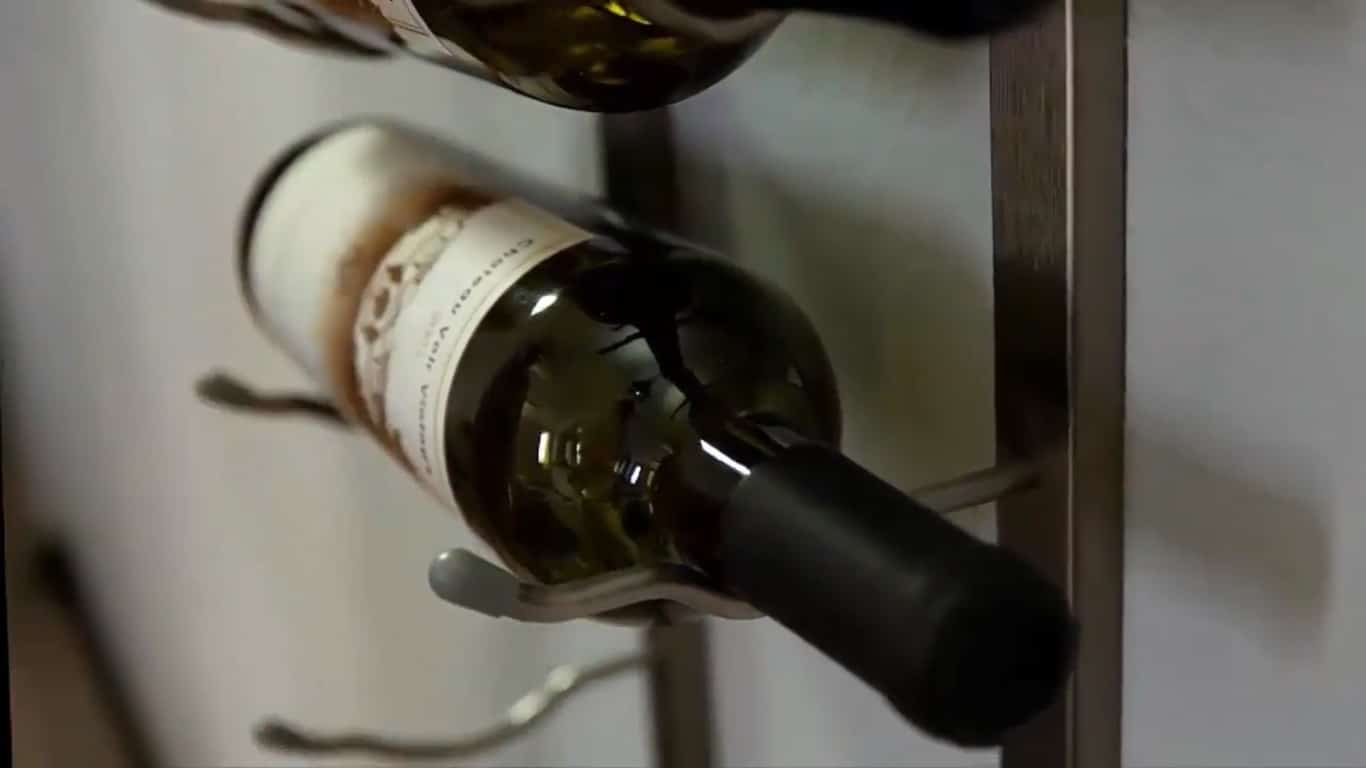
The Wall Series steel displays are among the most sought-after wall mounted racks. If you are passionate about contemporary style, you will most certainly fall in love with the designs. The label-forward configuration of the racking system is helpful, especially for those who have collections that are over a hundred bottles. This design makes it easy to identify your favorite vintages. You won’t have to scour through the displays looking for a certain bottle, because all of the wine labels are facing you.
You have the option to customize the look of these metal wine racks. You can choose from a variety of finish options, such as black chrome, chrome plated, satin black, and brushed nickel. This patented steel racking series also has options for all bottle sizes, from standard 750ml wines to large-format bottles.
Here is the Installation Video Guide for the Wall Series Metal Racks:
What Your Need to Prepare:
- Wall Series base and neck strip
- Spiral drywall anchors
- Mounting hole caps
- Toggle bolts
- Couplers
- Screws
- Phillips head screw driver
- Drill and appropriate bits
- Tape Measure
- Pencil
- Level
Step 1: Measure the Wall
To begin, carefully choose the wall where you want to install the racks. Ensure it is a suitable location with enough space to accommodate the desired number of strips or columns. Once selected, measure and mark the position of the first strip, leaving a minimum distance of 2 ¾ inches from the wall to allow for proper bottle placement and retrieval.
When installing multiple columns, it is crucial to maintain proper spacing. Measure 7 inches from the centerline of the first strip to determine the placement of the next strip. This ensures an even distribution of the wine bottles and allows for easy access. To maintain consistency, measure the same distance between subsequent columns, ensuring a minimum of 5 ½ inches from the outside strip of one column to the inside strip of the next.

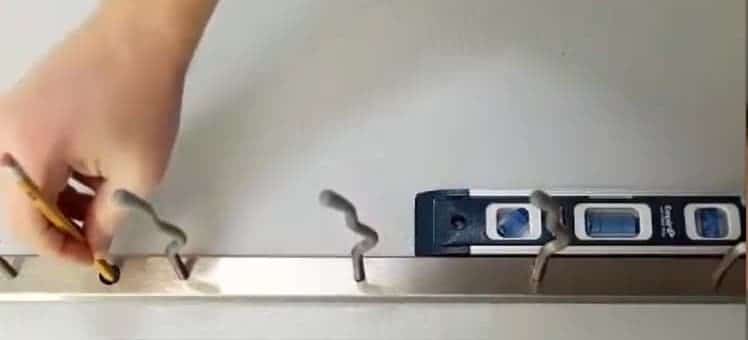
Step 2: Mark the Wall
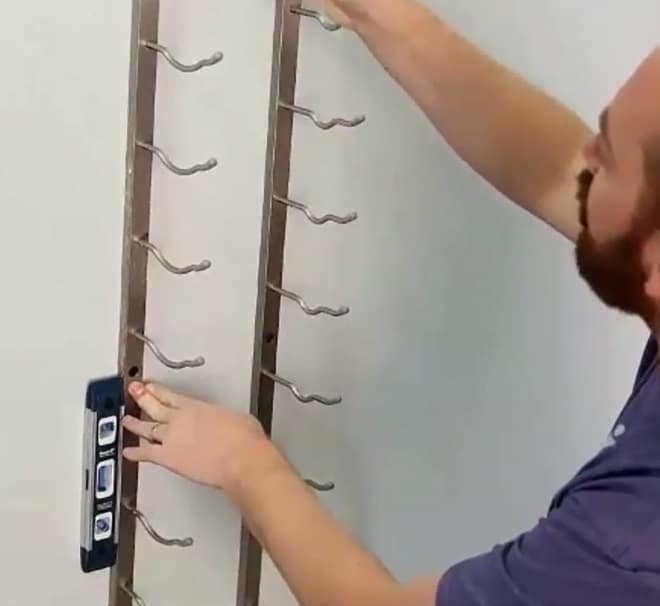
To install the metal wine rack strip securely, carefully hold it against the wall, making sure it is centered on the first mark that was previously made. Position it at the desired height, taking into consideration the size and shape of the wine bottles you plan to store. Use a level to ensure that the rack is perfectly horizontal.
Once you have ensured that the rack is level, proceed to mark the locations of the holes where the screws or mounting hardware will be inserted. This step is crucial for maintaining the stability and integrity of the wine rack. Using a pencil or a marker, mark the spots on the wall where the holes will be drilled or the screws will be inserted.
Take your time during this process to ensure accuracy and precision. Double-check the alignment and levelness of the rack before marking the hole locations. By doing so, you can guarantee that your metal wine rack will be securely attached to the wall, providing a safe and reliable storage solution for your wine collection.
Remember to follow the manufacturer’s instructions for drilling the holes or attaching the mounting hardware, using appropriate tools and techniques. By meticulously marking the hole locations, you can proceed with confidence, knowing that your metal wine rack will be installed professionally and securely.
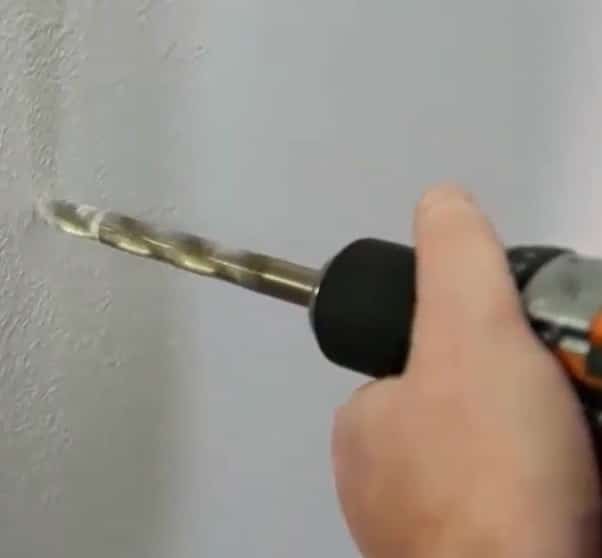
Step 3: Install Drywall Anchors
After marking the hole locations for your metal wine rack, the next step is to install the anchors to ensure secure attachment to the wall. If you are installing the rack through a drywall, it is advisable to start by drilling a pilot hole using an appropriate drill bit. This helps to prevent any potential damage to the drywall during the anchor installation process.
During the drilling process, if you happen to hit a stud behind the drywall, it is recommended to fasten the metal racks directly to the stud using screws. This provides added stability and strength to the installation.
For the top holes, where you will be using toggle bolts, it is necessary to drill a 13/32 inch hole to accommodate the size of the toggle bolt. This ensures a snug fit and reliable support for the metal wine rack.
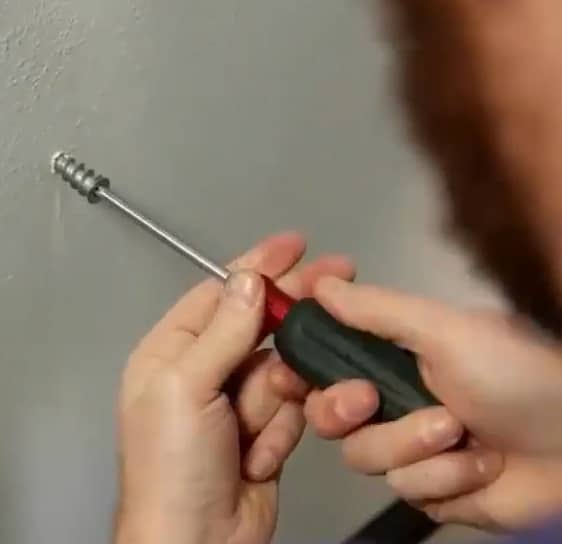
For the bottom holes, where the spiral drywall anchors will be used, carefully screw the anchors into the cellar wall at the previously marked locations. Continue screwing the anchors until the anchor head is flush with the wall surface. This ensures that the anchors are securely in place, ready to support the weight of the wine rack and its contents.
Step 4: Hang the 1st Strip
Now it’s time to hang the metal wine rack strips on the wall. To begin, start with the first strip. Remove the expanding nuts from the toggle bolts and insert the bolts through the top mounting hole of the strip. Make sure the bolts are positioned correctly and aligned with the hole.
Next, thread the expanding nut onto the bolts, ensuring that the nut’s wings are facing the bolt head. Gently push the expanding nut through the 13/32 inch drill hole in the wall. As you do this, take care to ensure that the wings of the expanding nut fully expand behind the wall, providing a secure anchor point.
Before fully tightening the bolt, ensure that the rack aligns properly with the bottom spiral anchors. This ensures that the wine rack will be level and properly positioned on the wall. Once aligned, begin tightening the bolt, ensuring a firm and secure connection between the strip and the wall.
For the remaining strips, follow a similar process using the bottom mounting screws to secure them in place. It’s important to tighten the toggle bolts securely to ensure the stability and strength of the metal wine rack.
If you plan to stack more than two metal wine racks, it is necessary to remove the end plug before installing the additional racks. This allows for proper alignment and connection between the racks, ensuring a seamless and secure stacking arrangement.
In the case of wood installations, you have the option to screw directly into all the marked holes. This provides a straightforward method of attachment, ensuring a sturdy and reliable installation.
Step 5: Hang the 2nd Strip
Once the first strip is in place, you may hang the second strip. Simply repeat the procedure in step number 4, center it with the mark on the wall, and ensure that the tops of the strips are level.
Step 6: Install Mounting Hole Caps
Once you have successfully installed the metal wine rack strips on the wall, you are now ready to stack your Wall Series metal wine racks. Follow these steps to complete the stacking process:
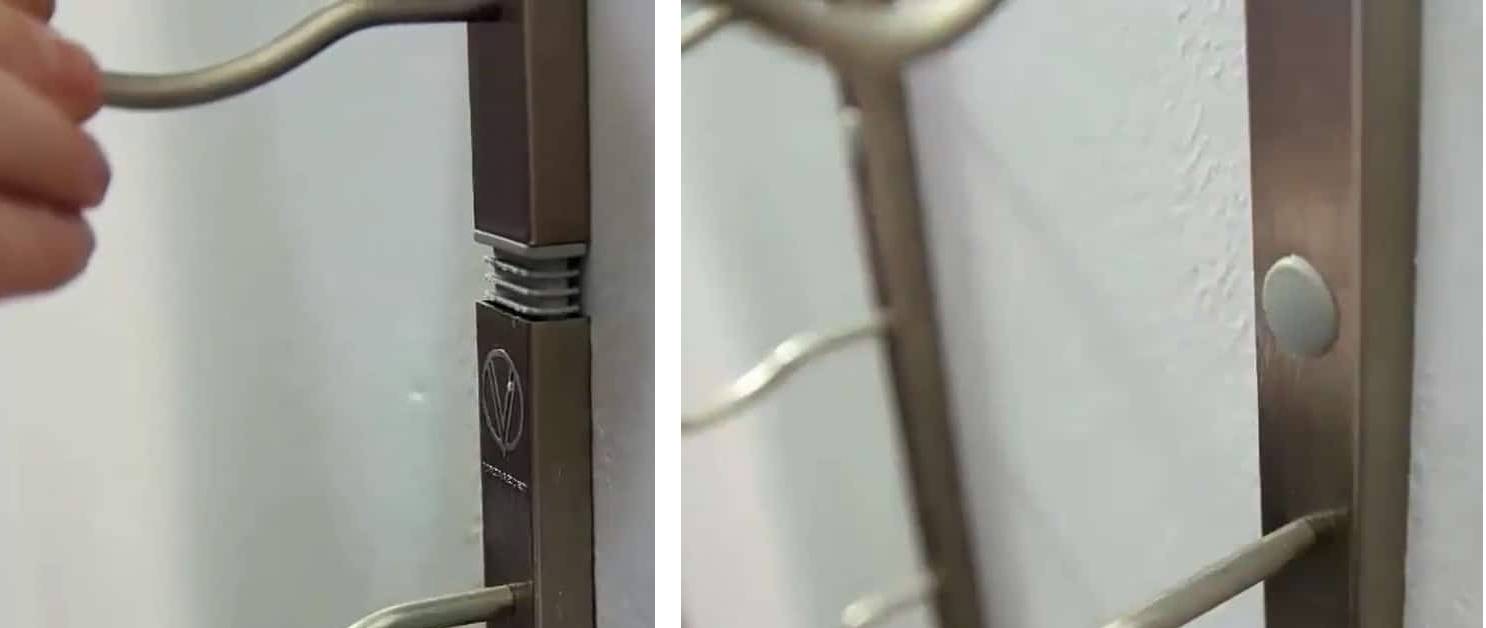
a). Begin by installing the mounting hole caps on the top mounting holes of each strip. These caps provide a clean and finished look to the installation, concealing the mounting holes and enhancing the overall aesthetic appeal.
b.) To stack the racks, start by removing the end plug from the top of the first strip. This creates an opening to connect the racks vertically. Set the end plug aside for future use.
c.) Take the couplers, which are designed to securely join the racks together, and insert them into the opening left by removing the end plug. Ensure that the couplers fit snugly into the opening, creating a stable connection between the racks.
d.). Once the racks are properly stacked and connected, you can proceed to start adding your wine bottles. Carefully place the bottles into the individual slots or shelves of the metal wine racks, ensuring that they are properly supported and arranged for easy access.
By following these steps, you can complete the stacking of your Wall Series metal wine racks, creating an efficient and space-saving storage solution for your wine collection. Enjoy the process of arranging and organizing your bottles, and savor the convenience of having your wines readily accessible for enjoyment or entertaining guests.
Need Help Installing? Custom Wine Cellars San Francisco Provides Complete Wine Racking Installation Services When Your Partner With Us!
If you require assistance with the installation of your wine racks, look no further than Custom Wine Cellars San Francisco. We offer comprehensive wine racking installation services to ensure a seamless and professional setup. When you partner with us, our experienced team will handle every aspect of the installation process, from start to finish.
We understand the intricacies of wine rack installation and will work closely with you to ensure that your racks are securely and aesthetically installed in your desired location. With our expertise and attention to detail, you can have peace of mind knowing that your wine collection will be showcased in a beautiful and functional manner.
Custom Wine Cellars San Francisco has a team of premier designers and builders that are excited to work with you. Let’s help you build your dream wine room! You can start today by calling +1 (415) 508 – 8419!